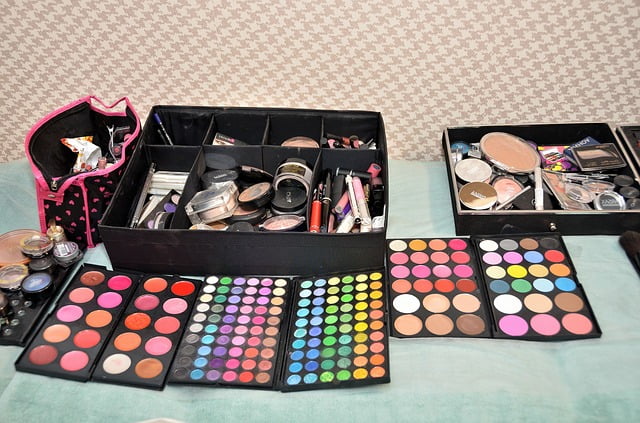
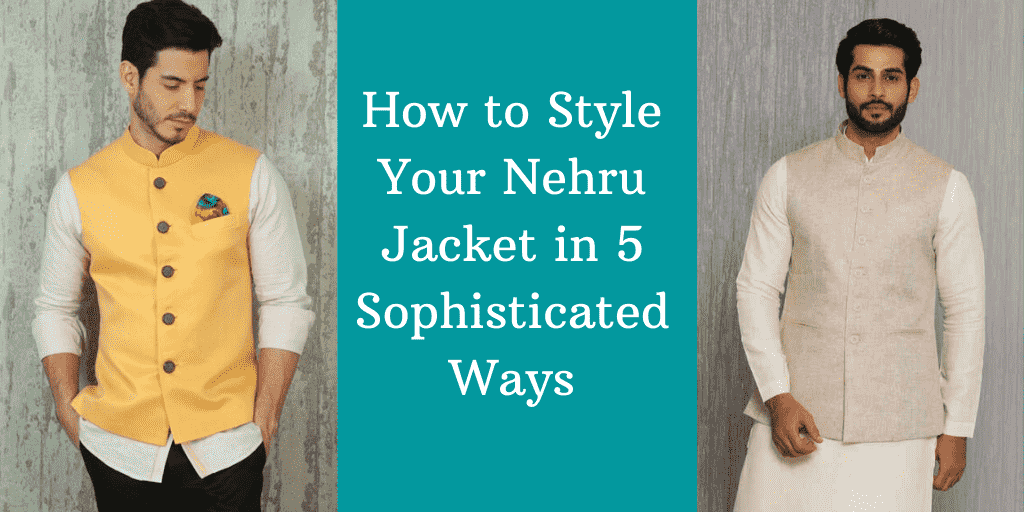
Photographers use lighting to bring out the best in their subjects. With the right lighting, your photo will look natural and capture your subject’s personality. Incorrect or fragmented lighting can have a negative effect by making your subject appear dull, washed out, or unappealing in some other way. You may feel a bit intimidated by all of the different types of photography lighting available, but they are not as complicated as they sound. With the right setup, you can achieve different effects just by changing the type and positioning of your lights. Each has its own unique properties that give it its visual appearance. Once you know what to look for, picking out the right lighting for your next shoot is easy. Here are our top 10 types of photography lighting you should keep in mind when photographing…
Also Read: Tips for Photography
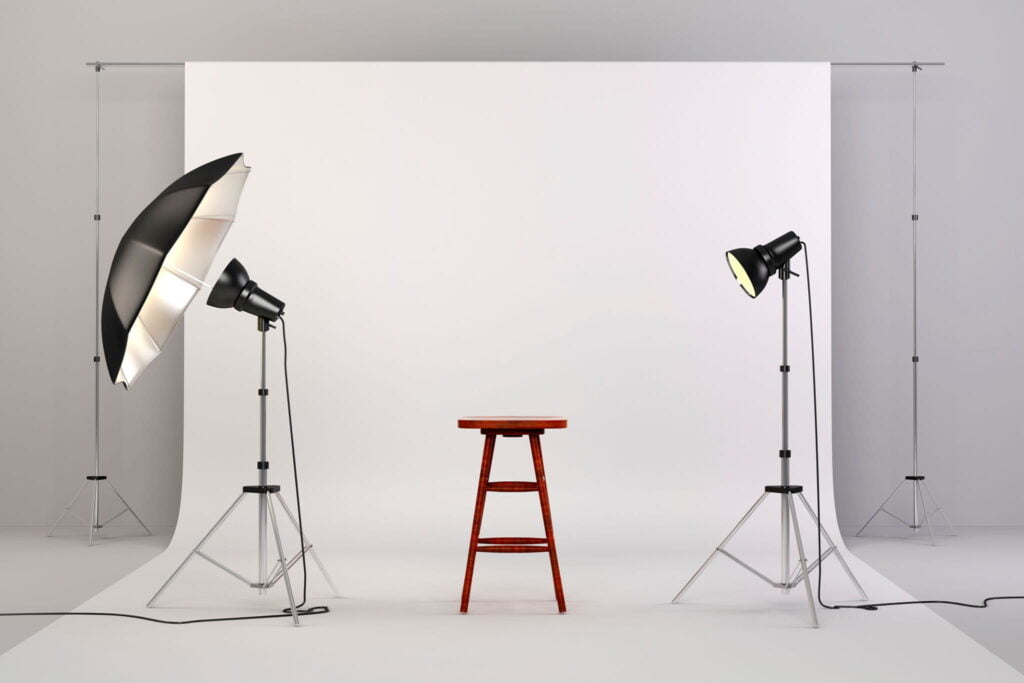
Top Types of Photography Lighting
1. Split Light

A split lighting pattern is created when half of the model’s face is illuminated by a soft light source, while the other half is in shadow. This effect is often used in glamour and lingerie shoots to draw attention to the model’s eyes and create a more sensual vibe. The best way to create a split lighting effect is by placing a diffused light source to the side of the model’s face. You can use a softbox, a strip light, or an umbrella to create a more focused light. A reflector can also be used to bounce light into the shaded side of the model’s face. To create a more dramatic effect, you can position your light source behind the model and create a rim light by using a black cloth to shield the light. This will cast a shadow on the model’s face and make her hair appear brighter.
2. Natural Light
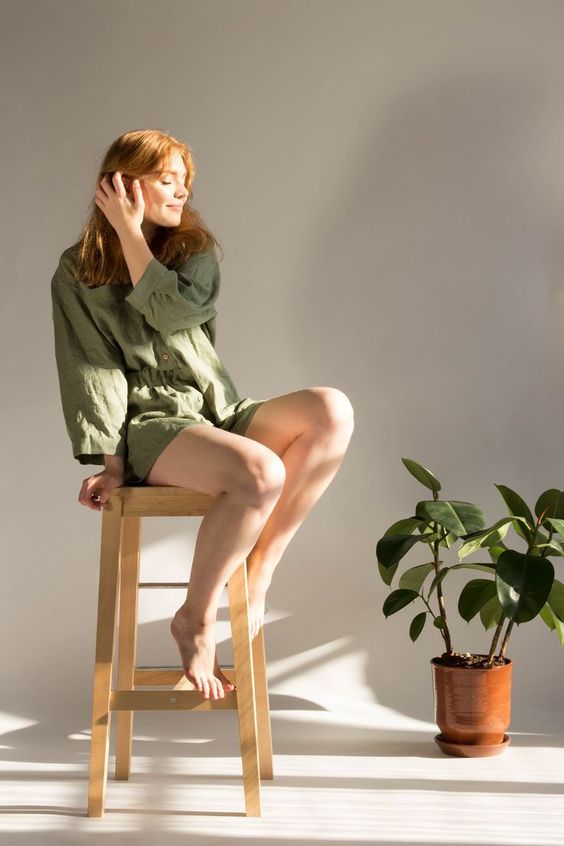
Natural light is the best type of lighting to use in your home or outdoor shoots, as it is free and readily available. You can easily change its intensity and direction by altering the time of day, the size of your subject’s shadow, or the position of the sun/shadows in the sky. While you can use natural light for most types of photography, it is most commonly used for portraits and indoor photography, such as landscapes and architecture. You can use natural light to create a warm, glowing light that focuses on your subject’s face. For better control over the light intensity, bring your subject closer to a window or move yourself further away to make the light source larger. When shooting landscapes or architectural photography, position yourself to the side of the sun/shadows to create a side light effect that brings out the texture of your subjects’ surfaces.
3. Front Light (Or Flat Light)
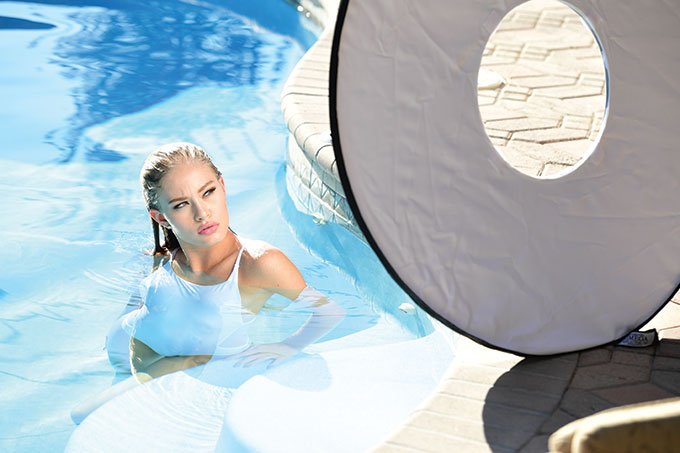
Front light is when the light source is positioned in front of your subject, creating a flat lighting pattern. It’s best for highlighting texture and bringing out the contours of your subject’s face. When using front light, make sure you position your subject so that their face is in the shade. You can also use a reflector to bounce light onto their face from the shaded side. Front light is perfect for outdoor shots during the day, as it creates a bright background and brings out the colours in your subject’s skin.
Also Read: Best Cameras for Photography
4. Back Light
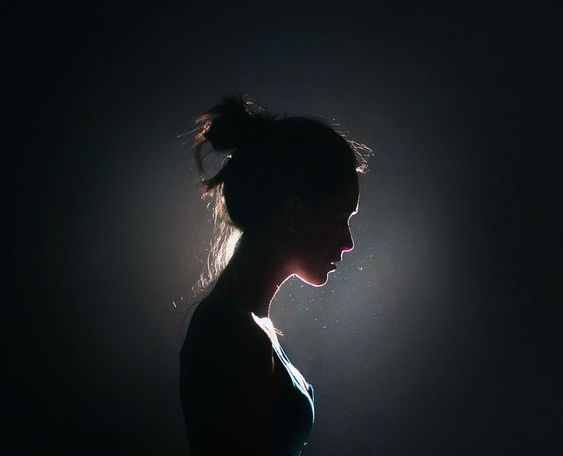
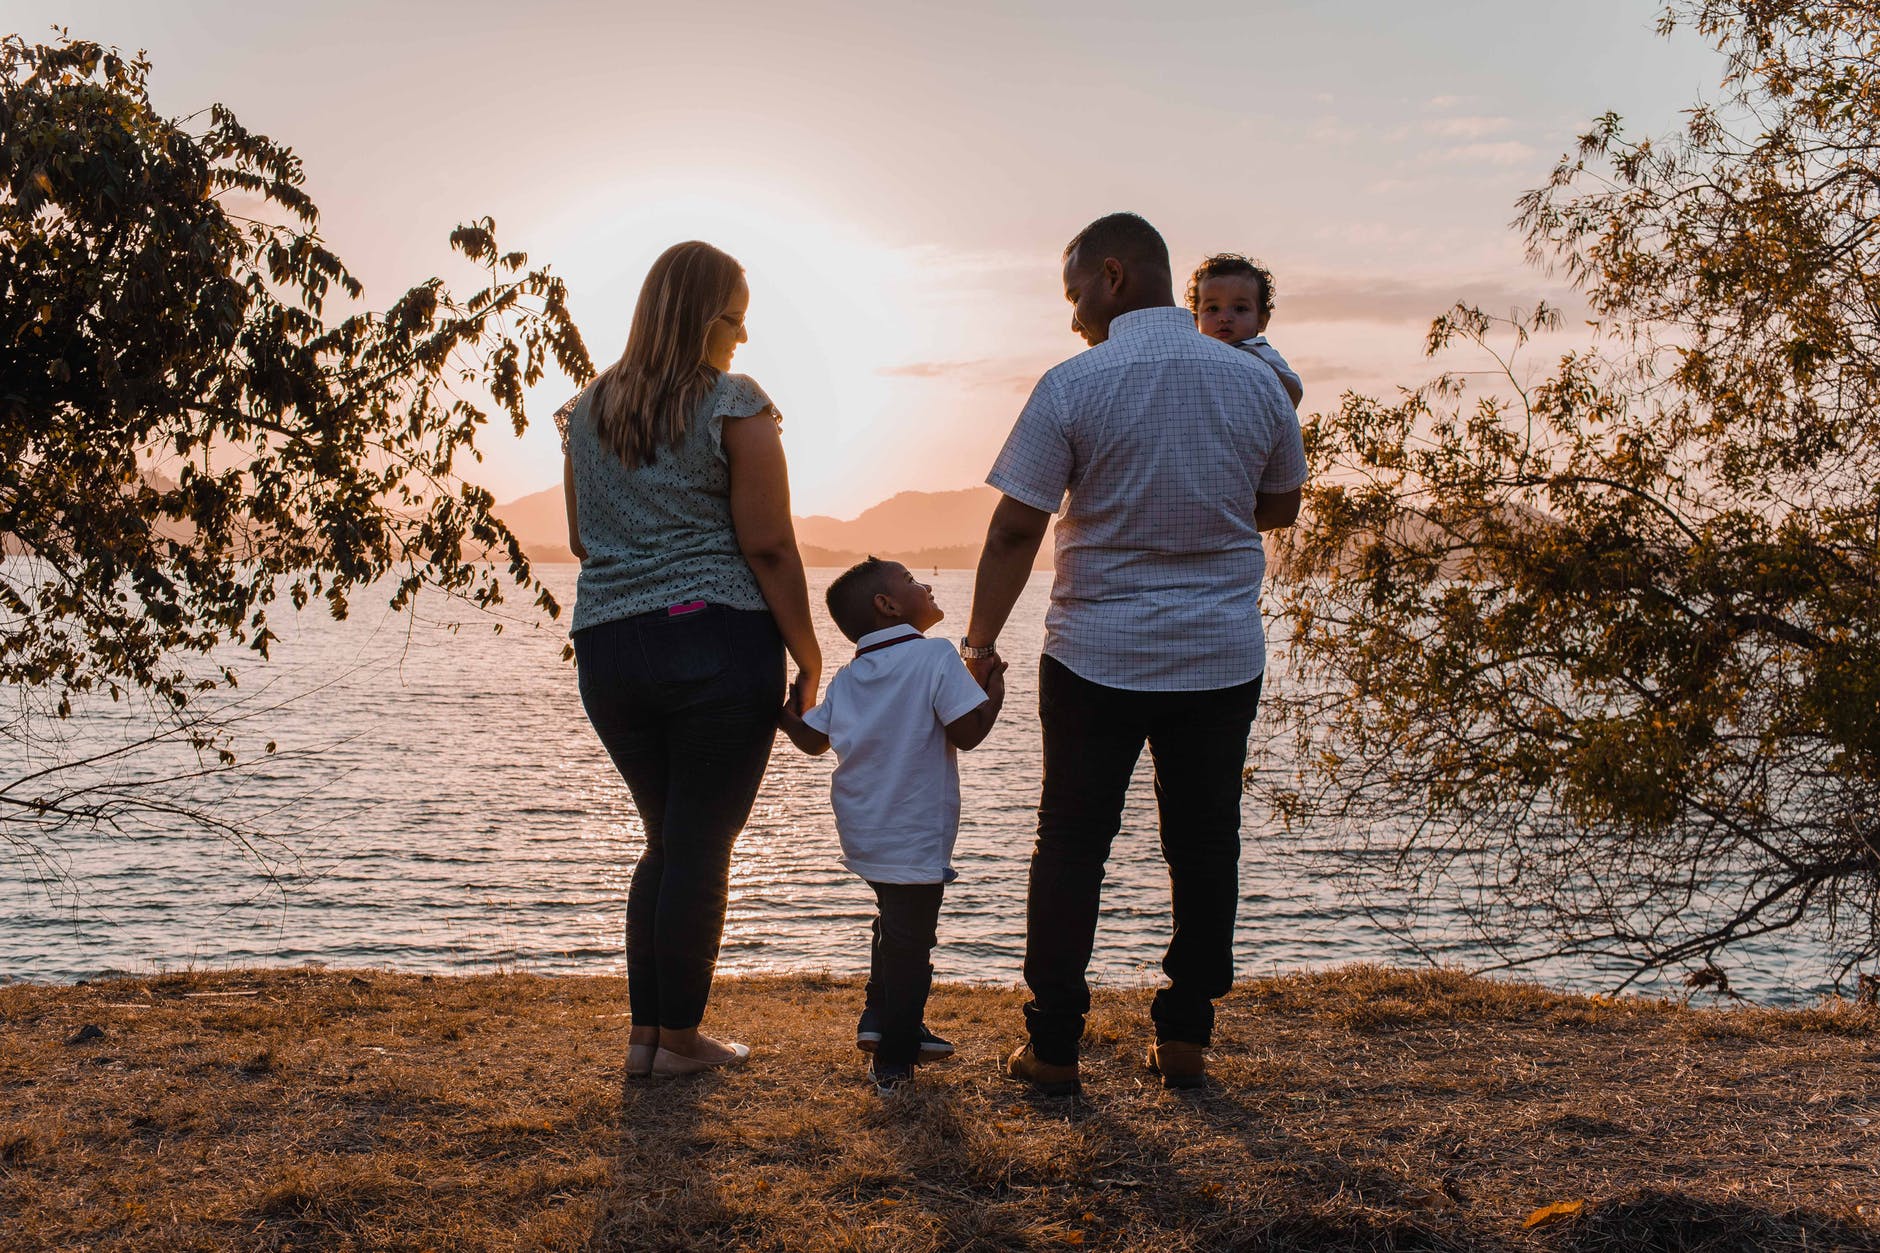
Backlight is created when the light source is positioned behind your subject. It is commonly used to create a rim light or create a silhouette effect by making your subject appear as a dark shape against a bright background. Backlight is perfect for adding drama and creating a dramatic effect. Backlight works best outdoors, as the sun is positioned behind us throughout the day. If you are indoors, you can use a large diffused light source behind your subject to create a backlight effect. Make sure to shield your subject with an extending arm or black cloth to avoid creating a hot spot on their face.
5. Soft Light
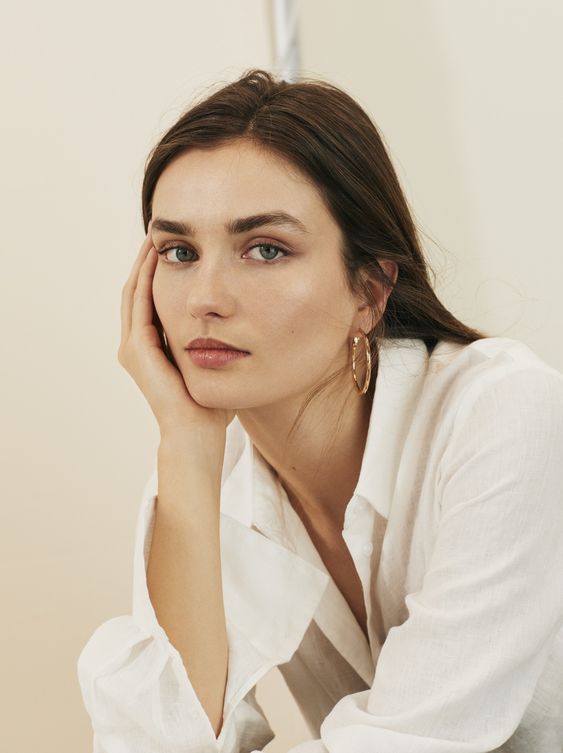
A soft light is created by diffusing the light source with an umbrella or a diffused lens. It creates a light with a large, diffused catchlight in your subject’s eyes, which is perfect for portrait photography. Soft lighting creates a warm, friendly light effect that is perfect for shooting indoors. You can use natural light or a flash diffused with an umbrella or softbox. If you want to create a softer light outdoors, you can use a diffused lens (like a grid or a net) to diffuse the light before it hits your subjects.
6. Hard Light
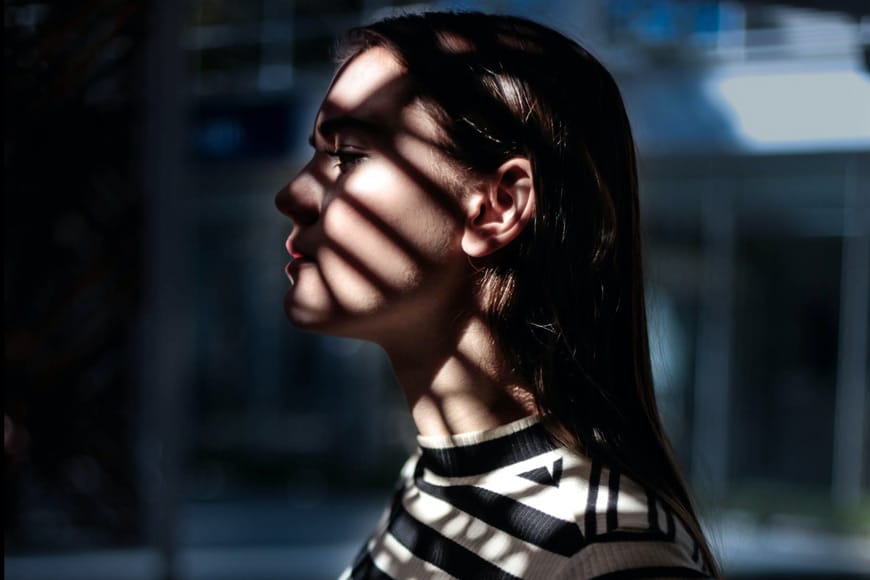
Hard light is created when the light source is unidirectional, such as a flash, or when the light is reflected off a hard surface, such as a wall. It produces a much more dramatic light and brings attention to specific areas of your subject. Hard light is best for fashion photography, product photography, and when you want to highlight a bold shape or feature in your subject’s face. You can create a hard light by positioning your flash behind your subject and hitting the wall in front of them with the light, or by using a reflector to bounce the flash off a hard surface.
Also Read: Top Fashion Photographers of India
7. Rim Light
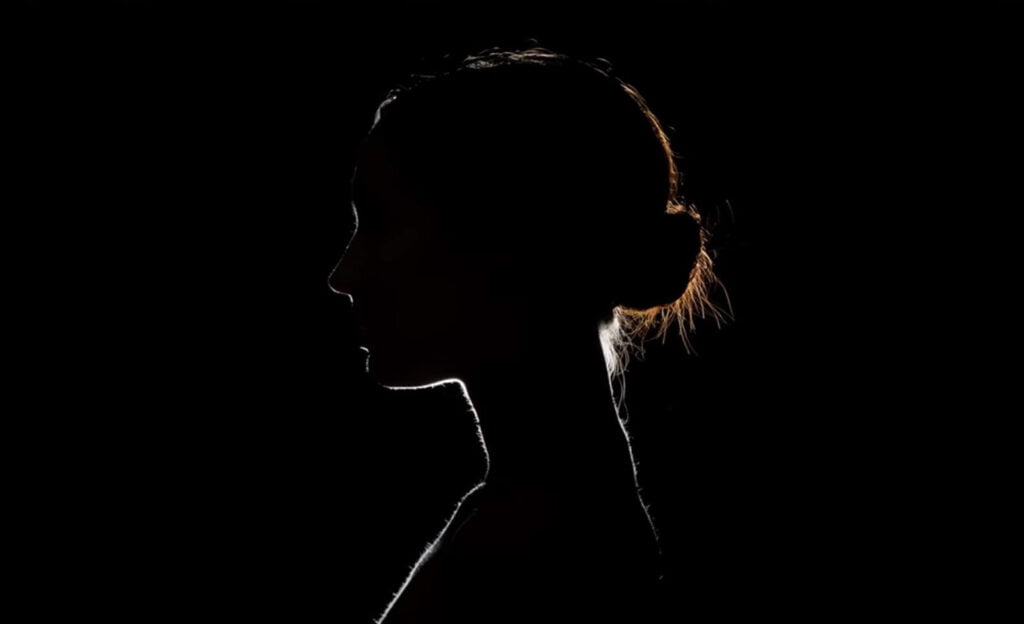
A rim light is created when your light source is positioned behind your subject and shines on their face, hair, and shoulders. It creates a bright outline around your subject and is often used to draw attention to the edges of your subjects, such as hair, costumes, and props. Rim lights are commonly used in theatre and dance, but they can also be used in portraits to create depth and drama. To create a rim light, position your light source behind your subject and tilt it at an angle so that the light illuminates their edges. You can also use a flash to create a rim light. First, position your subject so that they are in the shade and their background is illuminated by the flash. Then, turn on your flash, pull out the diffuser, and aim the light at your subject’s background.
8. Loop Lighting
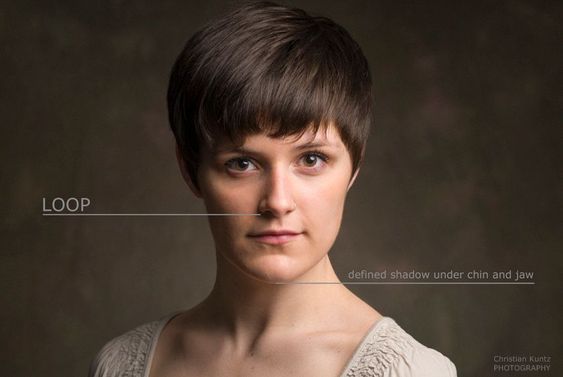
Loop lighting is created by positioning your light source above your subject, shining down on their face and illuminating their cheekbones. It creates a dramatic effect and brings attention to your subject’s eyes. Loop lighting is commonly used in runway and editorial shoots, as it creates a flashy look that draws attention to the subject. You can create loop lighting indoors by suspending a large diffused light source from the ceiling, or outdoors by using the sun as your light source. When using the sun, make sure to position your subject so that their face is in the shade and their background is illuminated.
9. Broad Lighting
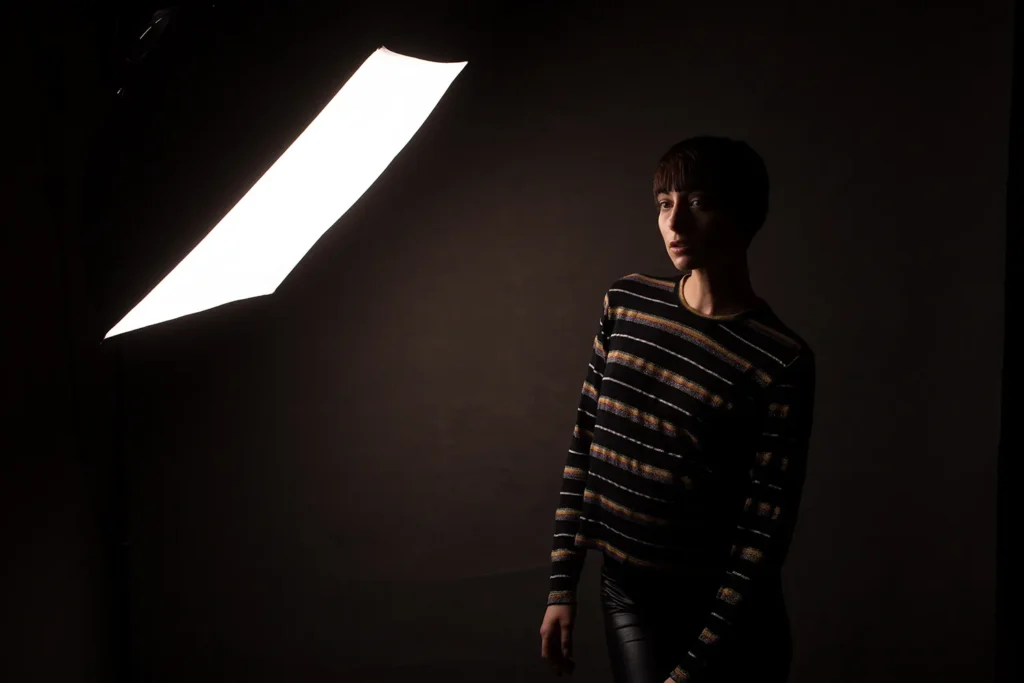
Broad lighting is created when the light source is positioned to the side of your subject. It illuminates the entire side of your subject’s face, creating even lighting. This is commonly used by photographers shooting newborns, who want to avoid shadows in the baby’s eyes. Broad lighting is best for shooting children, babies, or subjects who don’t pose well. It creates a softer light and brings out the texture in your subjects’ skin. You can create broad lighting indoors by positioning a large diffused light source to the side of your subject, or outdoors by using the sun as your light source.
Also Read: Luxury Fashion Brands in India
10. Butterfly Lighting
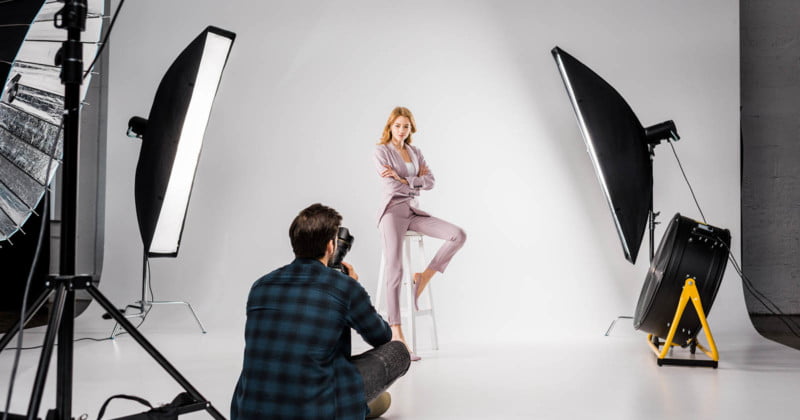
Butterfly lighting is created by placing two light sources on either side of your subject’s face. It produces a dramatic effect and is most commonly used for high-concept shoots. Where you place your light sources is up to you, but be careful not to create uneven light. Butterfly lighting is best for dramatic portraiture. You can create butterfly lighting indoors by using two large diffused light sources, or outdoors by using the sun as your light sources.
Conclusion
When it comes to choosing the right type of lighting for your photos, you can’t go wrong with natural light. When it comes to choosing the right type of lighting for your photos, you can’t go wrong with natural light. However, that doesn’t mean you can’t experiment with other types of lighting. There are many benefits to using artificial lighting, such as being able to control the direction and intensity of the light. With the right lighting, your photo will look natural and capture your subject’s personality. You can easily change its intensity and direction by altering the type and positioning of your lights.
Popular Searches
Different Types Of Skirt | Right Skin Care Routine Steps | How to Get Rid of Pimples | Best Running Shoes For Women | How to Boost Immunity | Places To Visit In India this Vacation | Tips on How to Get Rid of Dandruff | Show-stopping Wedding Outfit Ideas | Incredible Benefits of Vitamin C | How to Choose the Right Necklace | How to Buy Jewellery | Sustainable Fashion Brands | Organic Makeup brands | Types of Yoga Clothes For Women | 10 Top Most Luxury Makeup Brands |
